
Best Practices for Photographing Artwork
Good photography provides professional results for sales or insurance purposes, but there is more to creating a good photograph than simply “pointing and shooting.” Issues such as uneven lighting, incorrect colors, glares, and shadows can distort the view of the work, diminishing its beauty, clarity, and even its value! Here are some best practices to help you get that perfect shot!
PREPARE THE ARTWORK FOR PHOTOGRAPHING
Hang your framed work on, or in the case of a 3-dimensional piece, against an empty wall. A neutral color, like grey, white, or black, reduces any chance of colors interfering with the work you are photographing. For artwork hung on the wall, be sure that it is mounted flat against the wall and level. Use a laser level, if available, as any shift could affect the overall appeal of the artwork.
LIGHTING IS CRUCIAL FOR PHOTOGRAPHING ARTWORK
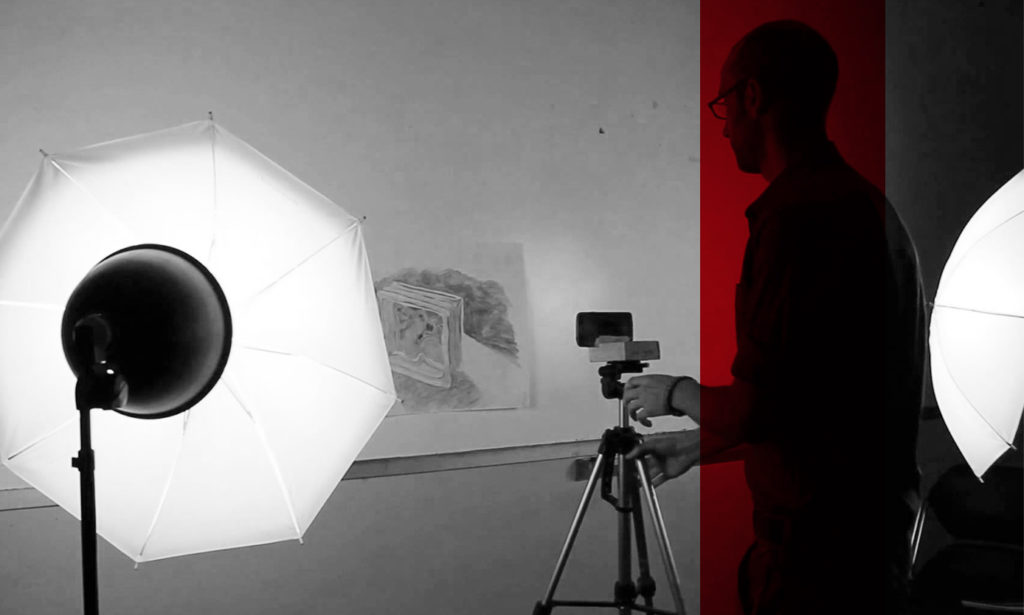
Finding the “perfect” lighting can be a challenge. Lighting which is too dark can cast yellow on the artwork, and super bright light creates “hot spots” where it appears intense. The ideal location would be to photograph the works outside, but this is not possible for many collectors. When photographing artwork outdoors, a cloudy day offers ideal conditions, with clouds acting as a light diffuser. However, this can be recreated indoors as well.
When photographing artwork indoors, find a room with plenty of windows and natural light. Indirect sunlight is the ideal type of light for photographs. You can create a lighting kit using the following items:
- 2 matching light sources (same power bulbs)
- lighting stands or clamp lights
- attach umbrellas, use plastic sheet or plastic bags placed loosely over the lights to diffuse the source
3-Dimensional Works: When photographing 3-dimensional works, focus on placing the item in front of a plain background without distractions, and adjust the lighting so that one light source is brighter than the other. This helps showcase the texture by creating shadows.
Remember the Angle of incidence: Be sure to keep light source some distance away from camera to prevent light from bouncing off artwork and back to camera, which causes reflection. An ideal distance is about halfway between the camera and the art work you are photographing, at a 45 degree angle.
SETTING UP YOUR CAMERA FOR PHOTOGRAPHING ARTWORK
A professional camera is not required for photographing artwork. A “point and shoot” camera is ideal, but you CAN take a good photo with your cell phone camera. Here are some key points to remember:
- Set the camera ISO to 100-200, which creates crisper images.
- Adjust white balance setting, brightness, and color.
- Resist over-adjusting the settings, as you still want a natural view-an over-processed photo is unnatural and doesn’t represent the work as it really appears.
- The camera’s f-stop of aperture should be between f-8 and f-11 to allow in the ideal amount of light.
- Be sure to turn off the camera’s flash.
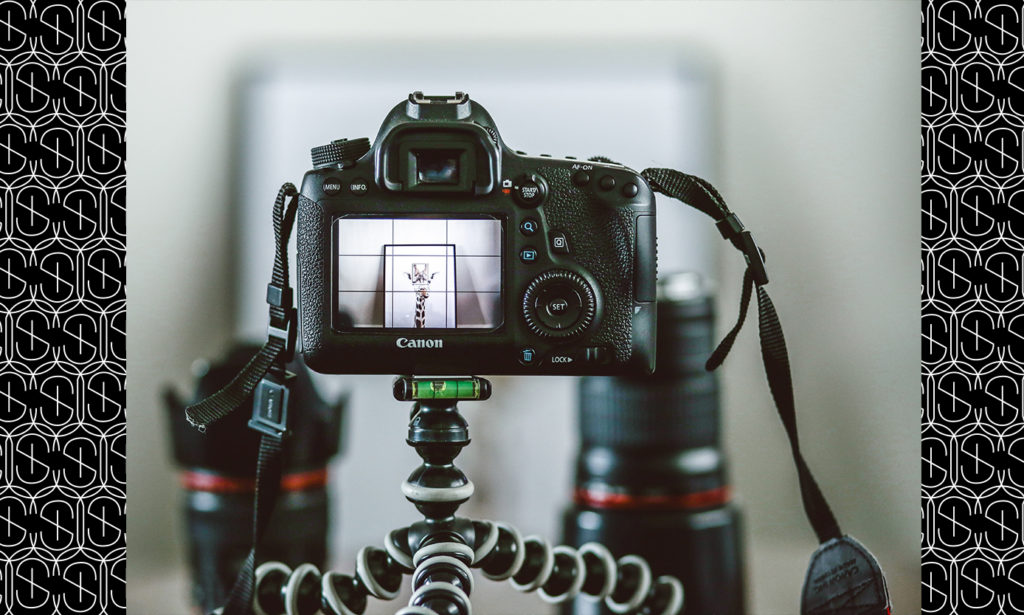
SHOOT THE PICTURE
Go ahead and take the shot; in fact, take many. Be sure to use a tripod, or if you don’t have access to one, simply find something stable to minimize movement. Line up your camera lens with the center of artwork to create a head-on shot. Get as close as possible, minimizing extra space while maximizing pixels. The last thing you need is a heavily pixelated shot which you edited by zooming in for that close-up!
EDITING LIKE A PROFESSIONAL
Don’t be shy to edit your photograph. Look at the photos you took, and play around with them. Correct the color if it seems unnatural, and crop artwork to reduce wasted space in flat work; however, allow a little room around 3-dimensional works. Editing allows you to adjust brightness and color, even after the picture has been taken.
You can edit the photographs directly on your cellphone camera with apps like Camera+, an app specifically designed for the iPhone which helps you set your camera phone before you photograph, as well as editing tools for your photos. Both Snapseed (which does not have a corresponding desktop application) and VSCO provide user-friendly editing tools for your cellphone camera. You can also send the photographs to your desktop for more intense editing. If you don’t have a good photo editing program already on your computer, Photoshop is one of the most popular programs.
YOUR COLLECTION—PHOTOGRAPHED FOR RETENTION AND DOCUMENTATION
Now that you understand some skills in photographing artwork, you can use these photographs, both in printed and computer file versions, to protect your investment and complete your collection catalogue. If you are looking for more hands-on assistance in photographing and cataloging your collection, contact experts at Sybaris Collection. We have a network of art professionals who can help you photograph and document your art collection. Additionally, ARTclub opens the door to a wide variety of art services to our premier members.
